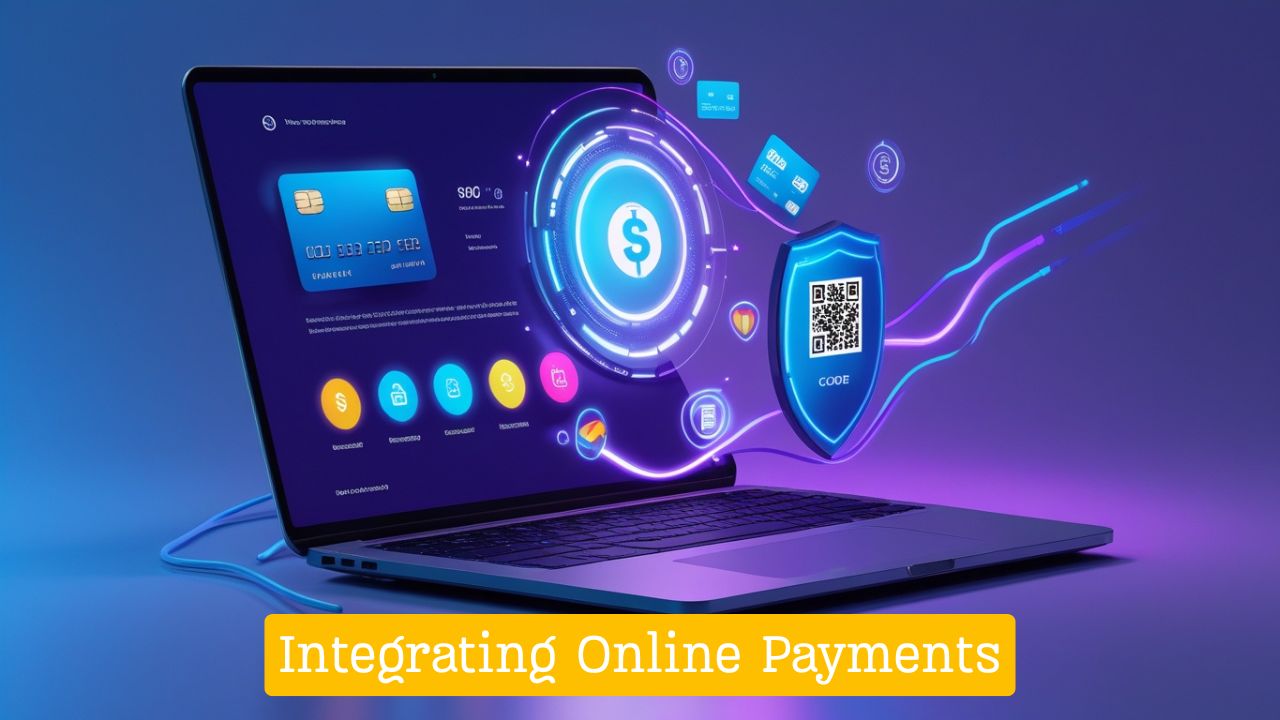
Integrating Online Payments: From API to Checkout
This guide explains how to connect online payments to your website or app in Bangladesh. We use simple words and clear steps so anyone can follow. Moneybag makes the process quick and safe. It works with cards, bKash, Nagad, Rocket, Upay, and bank transfers. You can finish the basic setup in less than an hour.
Step 1: Get Your Account and API Key Ready
Before you add payments, do these easy steps:
- Go to moneybag.com.bd and sign up (takes about 5 minutes).
- Upload your documents: trade license, NID copy, and bank account proof.
- Wait for approval (usually 1–2 days – Moneybag tries to be fast).
- Log in to your Merchant Dashboard.
- Click Settings → API Credentials.
- Copy your API Key (save it in a safe place – never share it).
You now have two modes:
- Sandbox – test mode with fake money (use this first!).
- Production – real money mode (use only after testing).
Sandbox URL: https://sandbox.api.moneybag.com.bd/api/v2
Production URL: https://api.moneybag.com.bd/api/v2
Step 2: Pick the Right Integration Type
Choose what fits your business:
Most people in Bangladesh start with the WooCommerce plugin or hosted redirect because they are simple. If you want full control over the checkout experience, check out the API-based payment gateway details.
Step 3: Add Payments to WooCommerce (Fastest Way for Online Stores)
Moneybag has a ready-made plugin for WooCommerce. Follow these steps:
- Log in to your WordPress admin.
- Go to Plugins → Add New → search “Moneybag” (or download from GitHub: Moneybag-SDK/moneybag-plugin-woocommerce).
- Install and activate the plugin.
- Go to WooCommerce → Settings → Payments.
- Find “Moneybag” and click to set it up.
- Paste your API Key.
- Choose Sandbox mode for testing.
- Turn on the payment methods you want (cards, bKash, Nagad, etc.).
- Save the settings.
- Make a test order in your shop using sandbox test details.
- When everything works, switch to Production mode.
Now payments go through automatically. Order status updates by itself. You can also give refunds from WooCommerce.
For a full overview of integration options and what to consider, see the Payment Gateway Integration guide .
Step 4: Use the API for Custom Websites or Apps
If you have a custom site (built with PHP, Node.js, Laravel, etc.), use the API.
Basic steps:
- Add your API Key to every request (in the header).
- Send a request to create a payment.
- Get a checkout link back.
- Send the customer to that link (or show the form on your page).
- After payment, customer returns to your “thank you” page.
- Get instant update through webhook (recommended).
Here is a simple example using Node.js (you can copy and change it):
JavaScript (Integrating Online Payments)
const axios = require('axios');Webhooks: In your dashboard, add your website’s webhook URL. Moneybag will send payment updates there automatically.
const api = axios.create({
baseURL: 'https://sandbox.api.moneybag.com.bd/api/v2',
headers: {
'Authorization': 'Bearer YOUR_API_KEY_HERE'
}
});
async function createPayment() {
try {
const response = await api.post('/payments', {
amount: 999,
currency: 'BDT',
order_id: 'ORDER-789',
customer_email: 'buyer@example.com',
return_url: 'https://yourwebsite.com/thank-you'
});
// Send customer to this URL
console.log('Go to:', response.data.checkout_url);
} catch (error) {
console.log('Problem:', error.message);
}
}
createPayment();
For complete endpoint details, sample code, and best practices tailored for Bangladeshi developers, head to the Payment Gateway API Documentation for Developers in Bangladesh .
Step 5: Test Everything in Sandbox First
Testing is very important:
- Use test card numbers and mobile wallets from the documentation.
- Try successful payments, failed payments, and cancelled payments.
- Test on mobile phone (most customers in Bangladesh pay on mobile).
- Make sure your thank-you page and emails work.
Sandbox uses fake money – nothing real happens. Get instant test credentials after quick email/phone verification. It mirrors the live environment so you can build and test safely.
Learn more about accessing and using the sandbox environment here: Moneybag Sandbox .
Step 6: Switch to Live Payments
When you are happy with tests:
- Change the URL to production.
- Use your real API Key.
- Make 1–2 small real purchases to confirm.
- Turn on webhooks so you get updates even if the customer closes the browser.
- Watch your dashboard for new transactions.
Common Problems and Easy Fixes
- “Invalid API key” → Copy the key again from dashboard.
- No checkout page → Check that return_url is correct.
- Webhook not coming → Make sure your server accepts POST requests.
- Payment fails on mobile → Test with real phone and network.
- Wrong currency → Always use “BDT”.
Write down error messages – they help find the problem fast.
Quick Tips to Improve Your Checkout
- Show bKash and Nagad first – they are the most used in Bangladesh.
- Add a payment link option for customers without a website.
- Use the dashboard to see which payment method people like most.
- Keep checkout fast – fewer steps mean more sales.
Frequently Asked Questions
How long does setup take? WooCommerce plugin: usually 20–40 minutes. Custom API: 1–3 hours depending on your site.
Is coding required? No for plugin or payment links. Yes for custom API, but examples make it easier.
Can I test as much as I want? Yes – sandbox is free and unlimited.
What if I get stuck? Contact Moneybag support through the dashboard – they reply quickly.
Does it work with international cards? Yes – Visa, Mastercard, and AMEX are supported.
Ready to Start?
Adding payments is one of the best ways to grow your online business in Bangladesh. Moneybag gives you easy tools, fast approval, low fees, and quick money to your bank.
Sign up today, get your API key, and test in sandbox. You can be accepting real payments very soon.
Questions? Use the support chat in your dashboard or email the team.